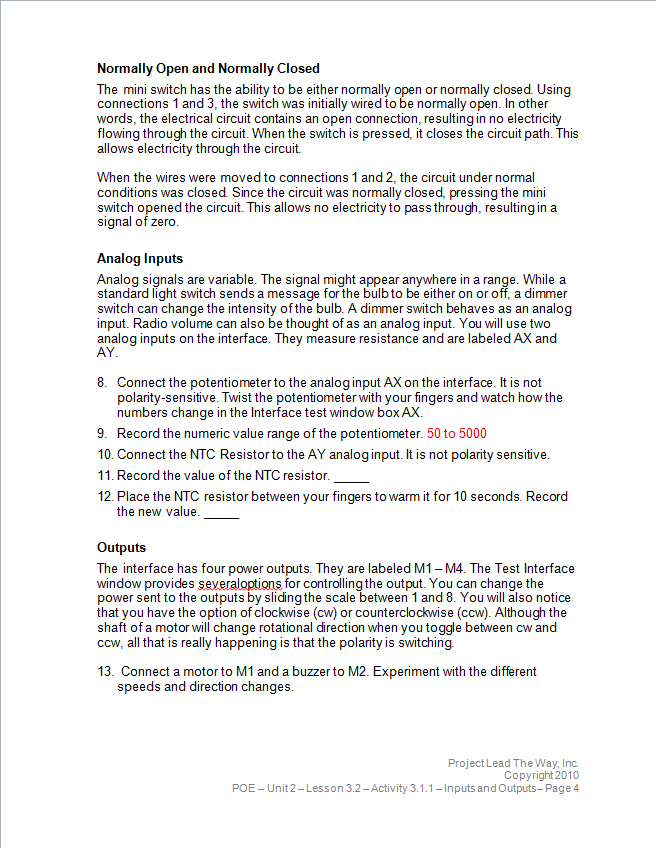
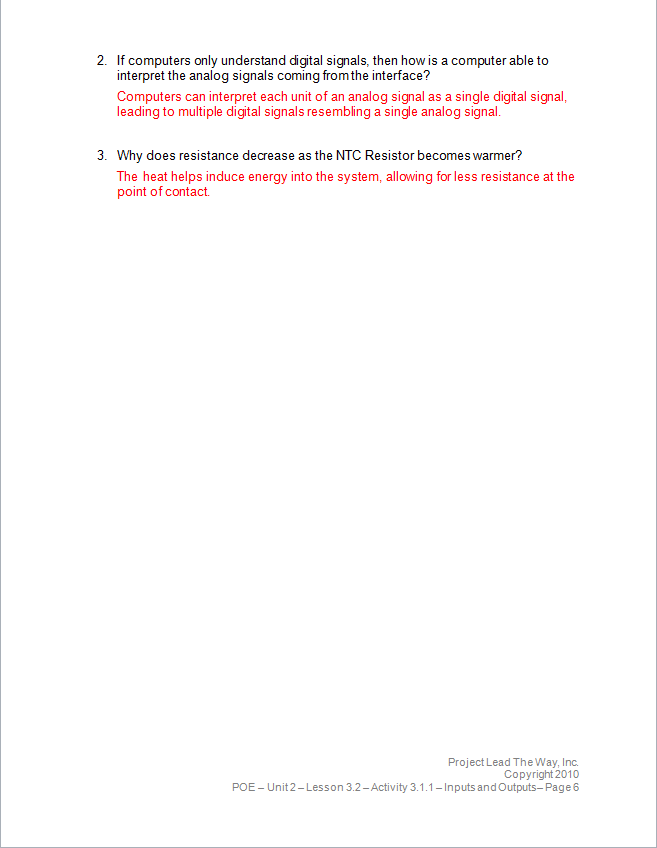
In the first RoboPro worksheet, my group and I were tasked with studying inputs and outputs, varying from analog to digital. We were instructed as to the nature of analog measurements vs. digital measurements, and were able to test and utilize potentiometers and switches to test both. We were also able to expand upon this with the testing of photo resistors and photo transistors. We were unfortunately unable to utilize an NTC Resistor, limiting our ability to complete certain parts of the packet.
Last year, I endeavoured to participate in the San Diego Aerospace Museum's "Fly Your Ride" competition, and succeeded in doing quite well in the middle school. While not an actual class assignment, I still pursued the competition this year, in an attempt to do well in the High school bracket.
The competition "Fly your ride" is designed on the intent of having students design "roadable" aircraft to compete against one another in a test of effectiveness. I initially submitted a file to the competition administrator to display mmy planned model and to request entry into the competition. It depicted expected dimensions and pricing of my planned roadable aircraft, as well as various other pieces of information about the aircraft.
After being accepted into the competition, I was set to begin work on my aircraft. I initially set to work constructing the fuselage, which was composed mainly of balsa wood. I planned to construct the rest of my model out of balsa wood as well. I used LEGO bricks as clamps during the gluing process.
After a period of time away from my work due to school work and other conflicting obligations, I was able to complete work on the aircraft. I created my own airfoils and constructed a four-wheel landing gear system.
After completing work on the primary airfoil and the land gear, I was able to attach the rear airfoil, make final modifications, and effectively complete my aircraft.
The competition was to be a number of rounds, in which teams would bring up their vehicle and release it from the top of a ramp. Teams attended from all across San Diego, including teams from La Jolla high and High Tech High.
I personally did not succeed in placing this year, but was able to consult with a number of experts on the subject about my aircraft, and felt that the experience was quite beneficial.
For the toothpick bridge challenge, my team and I were faced with the task of constructing a bridge to span a 12-inch gap out of toothpicks. We decided on a triangular design with similar bases at the ends to provide support.
The bridge utilized a beam below to keep it from falling in on itself, anf supprts at the ends of the bases to keep it from falling in on itself. After a very small amount of weight was added, barely smaller than a roll of duct tape, the bridge compacted in on itself and was exhibiting extreme stress. My team and I decided to create a new bridge to combat the issues we had seen, such as:
- The height of our original model was too tall, raising the center of gravity and making it more prone to falling
- The design was not sturdy enough, and required reinforced beams
- The bases were not large enough, and required more surface area and a wider bottom to disperse weight and keep from falling over.
We were able to fix all of the issues that were presented to us by using beams of three toothpicks each, and by redeisgning our bases with a wide trapezoidal design..
the new bridge was quite heavy for a toothpick bridge, but was surprisingly sturdy. Easily spanning the gap, the bridge was able to hold over 400 AA batteries, and the bridge itself weighed roughly 81 grams. The end result was spectacular to witness, and extremely gratifying.
Our bridge finally broke due to stress on the glue bonds. Strangely enough, the bridge broke due to the glue failing, and no actual beams were broken in the process. It was able to hold roughly 410 batteries
In the LEGO Mindstorms Tug Of War Challenge, teams had to create vehicles that would be able to win a game of tug of war against other teams' vehicles. Most teams built wheeled vehicles, but I constructed a vehicle with treads. Initially I built a two-tread vehicle with two motors, and this succeeded against a number of teams.
After losing to a team, however, I resorted to adding a third motor and four more sets of treads to my design. I also utilized a gear mechanism in order to derive more power from the motors. This did not prove to be much of an aid, however, due to the lack of friction on the classroom floor.
In a final effort to derive more success from my robot, I strengthened the back bracket securing my rear drive block. This ensured connection between gears, and helped it do a bit better. I also competed with other robots outside on different terrain to much better results. Outside, I won one race and tied most others.
For the Ping-Pong Gap design Build Challenge, my group and I constructed a ramp that we used to propel our ping pong ball over the predetermined gap. Some constraints we faced in our build was a limit on materials due too predetermined selection and monetary limitations. Contrary to the bridges that other groups built, we constructed a ramp with which we propelled our ball across the gap. While we were able to successfully clear the gap, it was only once every few tries, leading to a low, but present, success percentage.
- The commercial that caught my attention the most this year was a two-minute advertisement for Jamie Casino Injury Attorneys that ran during halftime. It tells a story about lawyer Jamie Casino, and his turn from criminal defense to personal injury attorney.
- What made the commercial memorable was its sheer length and ability to tell a story. This ad ran for a full two minutes, much shorter than other ads which might only run for 15 or 30 seconds. This length of advertisement allowed for the telling of an in-depth story, which was much deeper than the commercials from major corporations.
- Commercials in the Super Bowl this year cost roughly 4 million per 30-second slot. This advertisement for Jamie Casino was aired on a local broadcaster however, substantially reducing the cost, although the network did not disclose the cost.
- Aside for paying for airtime, many other expenses ar included in the production of a commercial, including:
- Actors (a couple hundred to low thousands)
- Equipment (low thousands if purchased, high hundreds if rented)
- Crew (high hundreds per person)
- Catering (low hundreds)
- Location Use (low hundreds)
- Prop Use (very low hundreds)
- As the advertisement was for a personal injury lawyer, where service fees can fluctuate by thousands of dollars per case, the amount of "widgets" or services that must be sold to compensate for the ad is effectively impossible to calculate; however if we use the general cost of 5,000$ for a single service, and place the cost of the advertisement around 100,000$, The law firm will have to provide roughly 20 services in order to make up costs.
- Shortly after the superbowl, the Jamie Casino advertisement went viral online, reaching many more people for no extra cost, and sending the law firm very high very quickly in public status. This should provide an influx of requests for services, and it seems very likely that this ad will cover its costs directly, and will also have the added value of creating a popular image for Jamie Casino.
Intro:
In the days that we spent on LEGO Mindstorms robotics, members of the class were able to construct a LEGO Mindstorms Robot and program it to operate autonomously. Groups were tasked with having their robots complete courses by building an effective chassis and programming it with precision.
*NOTE: Due to my absence for the ending portion of the challenge, I was unable to capture photos of certain parts of the challenge, but was able to retain screenshots of my programming, and was able to capture certain photos after I returned.
Challenge Review:
Challenge One - straight course
- In this challenge, the teams' robots had to move forward in a straight line, covering a predetermined distance. Most people were able to utilize the NXT Brick's built-in programming suite, but a full-suite program was also possible, as shown in the photo included.
- The robot I constructed featured a two-wheel system where the robot moved with two drive wheels and a back caster to provide balance. This allowed for an operation similar to "tank drive" where each side can be operated independently, allowing the vehicle to make sharp, in place turns. This, in tandem with a simple program (above) was able to complete the challenge with ease
- Overall, the challenge was quite simple and i thought that it was a good start for the LEGO Mindstorms segment. My robot performed well and no changes to it or the programming seemed necessary.
Challenge Two - "Bent" Course
- The course provided would require a robot to turn at a sharp angle, but due to my two-wheeled system, my robot did not need any build changes to successfully complete the course
- Using my robot's ability to turn at a fixed point, I constructed a program that would capitalize on that ability. I was able to send my robot into the bend, and have it turn in place to face the end of the course, and then simply move forwards. this simple program allowed me to complete the challenge very quickly.
- The challenge seemed to be a good step up from the simple straight course from before, requiring builders to modify their vehicles for turning. My robot worked well on the course, and due to the lack of issues, I would not make any immediate changes to its construction.